 |  |  |
Yeah! I have been wanting to start on this piece of furniture for ages!
71 wide x 35 deep x 70 high, this shelf will be used to put toys, bags, hats, amongst other things.
I am not planning to have drawers, but this could change!
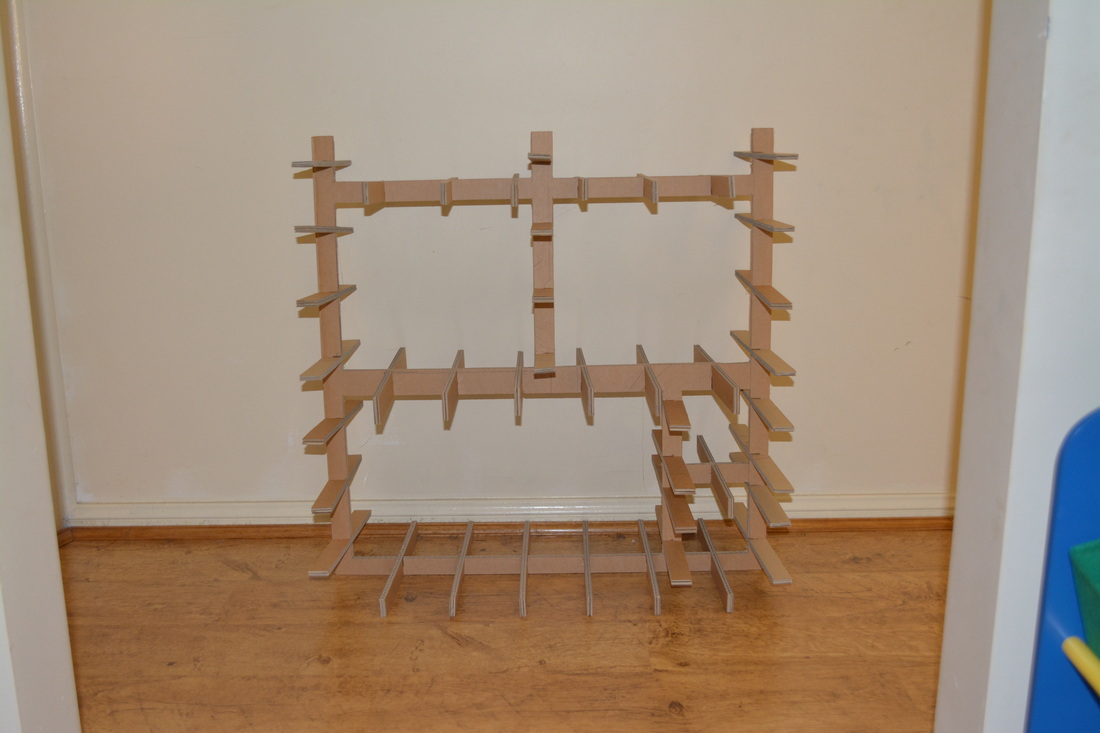
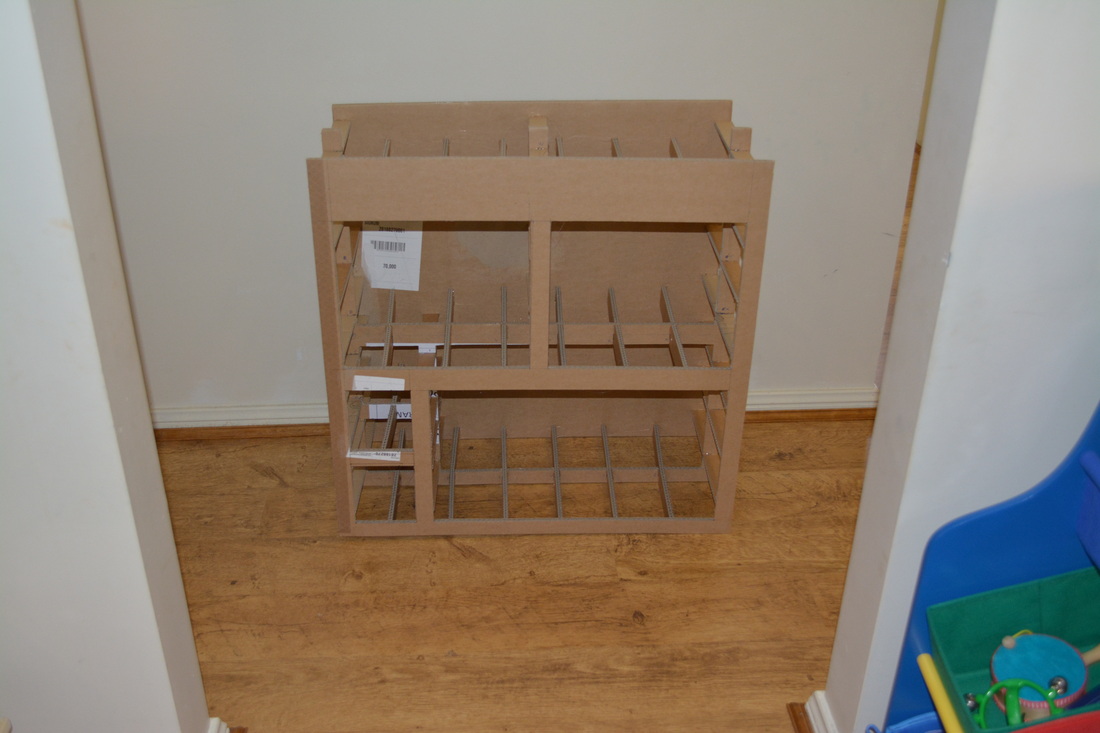
These pictures show the first steps of cardboard furniture making:
- Cutting the front middle and back shapes
- Adding structural elements to the middle shape to strengthen the piece of furniture
- Gluing the front and back to the structural elements and now it starts to look like what I want.
Next week I'll add the dressing panels on the top, bottom and sides and the lid and I might even have time to paint it!
Enjoy the end of the week!
71 wide x 35 deep x 70 high, this shelf will be used to put toys, bags, hats, amongst other things.
I am not planning to have drawers, but this could change!
These pictures show the first steps of cardboard furniture making:
- Cutting the front middle and back shapes
- Adding structural elements to the middle shape to strengthen the piece of furniture
- Gluing the front and back to the structural elements and now it starts to look like what I want.
Next week I'll add the dressing panels on the top, bottom and sides and the lid and I might even have time to paint it!
Enjoy the end of the week!
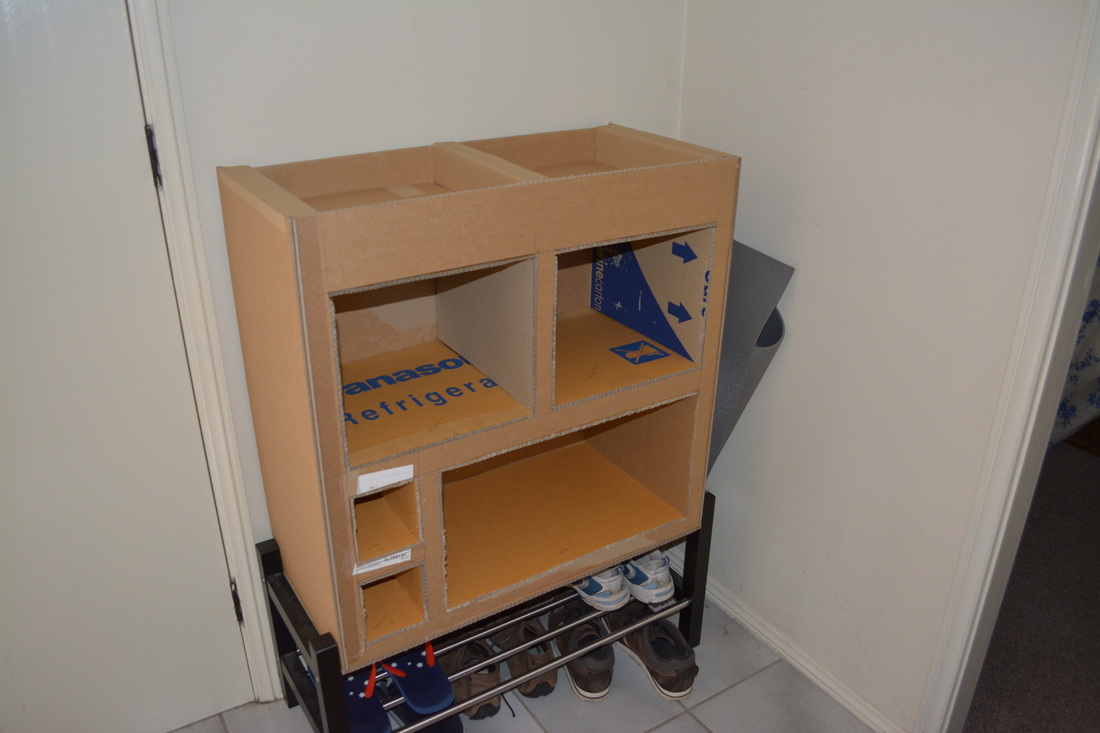
Hehe! Fairly productive Friday so far! The dressing panels are on. Only the lid is missing and it should be done by the end of the day.
Wait till next week for the finishing touches: A whole lot of covering, protecting, sanding, filling, drying, sanding, filling, drying, sanding, painting, drying, painting, drying, varnishing, drying, varnishing, drying, varnishing, drying,......
Finishing touches really are what takes the longest.
Wait till next week for the finishing touches: A whole lot of covering, protecting, sanding, filling, drying, sanding, filling, drying, sanding, painting, drying, painting, drying, varnishing, drying, varnishing, drying, varnishing, drying,......
Finishing touches really are what takes the longest.
 RSS Feed