https://www.facebook.com/cardboardcultureOZ
  CARDBOARD CULTURE
  • Home
  • Blog
  • Products
  • Contact me

CARDBOARD CULTURE

TAILOR MADE CARDBOARD FURNITURE, HOMEWARES, JEWELLERY

PRODUCTS

Rachele Wildmare's garden

7/31/2013

0 Comments

 
Picture
Hi everyone,
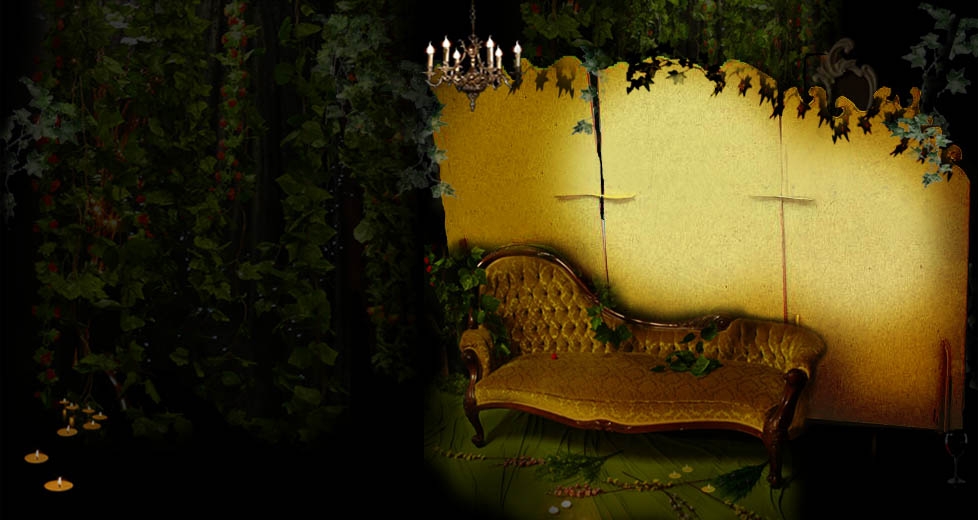
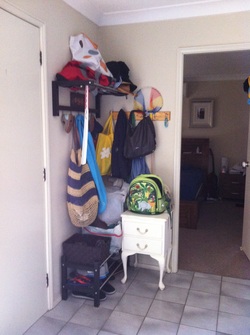
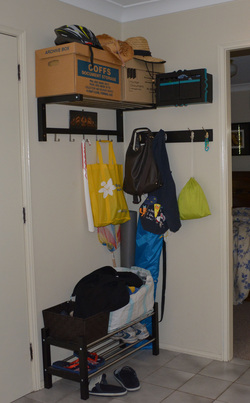
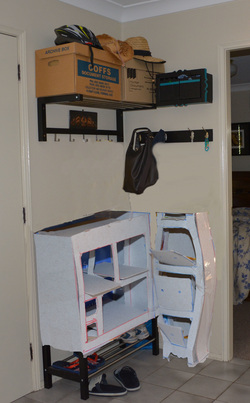
I have been working on a project with talented and inspiring artist Rachele Wildmare. Mare is creating her fantasy garden, slowly bringing it to life. It will become the set of her future show.
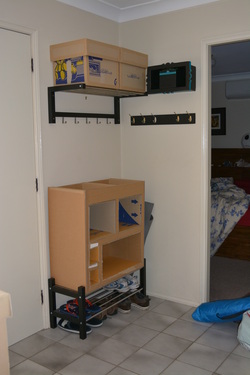
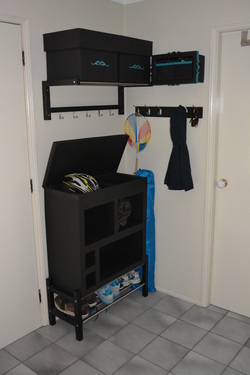
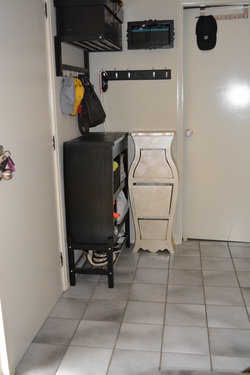
I am lucky to play a small part in this creative process. The screen you see behind the seat will be made of recycled cardboard boxes and will be fully collapsible so that it can be transported. A lot of fun has already been had on this project and I can’t wait to start drawing, cutting, gluing, painting!
Rachele is an amazing violinist and entertainer. I recommend her website www.rachelewildmare.com and if you have any need for entertainment, her other current performances are www.wildmareviolin.com - Electric Violin for Events  and www.stringsonfire.com.au - Violin & Circus Duo for Events.
I'll keep you all posted as we develop the idea of the screen further. Enjoy the rest of the week!
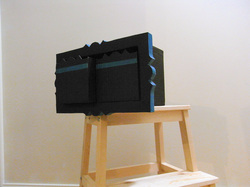
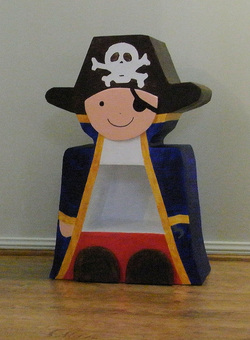
0 Comments

Before/After

7/18/2013

1 Comment

 
Picture
Who does not like the great Before and After shots!
So I thought I'd start with my entrance space: Essentially a mess of beach bags, creche bags, handbags, million other bags and jackets and hats...
The main problem apart from the mess is the lack of coherence between the bits of furniture: Ikea black shoe and hat racks with grandmother's white bedside table and timber colour coat hanger the previous owner left behind...

The plan is:
- tidy up!
- paint coat hanger.
- Create practical furniture to match the space available.
    A small shelf at high levels for some of the unused bags
    A wide shelf to sit on top of the shoe rack (kids shoes and beach bags)
    A tall boy to replace granma's bedside table (swimmers, kids hats, sunnies)
- Have Fun making all of this!

This one will be a Before/After but with steps in between. I'll Add photos as things get made...
Picture
This step is to show you the black and blue shelf in situ...Everything else already looks better too... Humm, ok I am cheating a bit as the kids are in daycare and their mess is half gone with them, but it is only early days!

I have put some of the mess in temporary boxes until I make the shelves.
I fixed my black and blue shelf to the wall and filled it up with a lot of the bags.
I also painted the coat hanger!

Next I will start on the shoe rack rectangular shelf.
I also need to frame my husbands awesome embossed metal artwork he made when he was a kid...


Picture
I always make my cardboard furniture in miniature with cereal boxes first to make sure I am not forgetting anything and to see where the structure needs to be strengthened.
This is a photo montage to show you what it will look like at the entrance.
It will get painted of course.
I am not great with Paintshop so I can't wait to get started and show you the real things! Enjoy the weekend!

Picture
The rectangular entrance shelf is well under way. The lid is missing as it is drying in the garage and I started on some customized storage boxes that are just the right size for my top shelf.
Should have something more presentable soon!
Have a good Friday avo!

Picture
One more furniture to go and I'll be finished!
The lid of the rectangular entrance shelf has been fitted.
The cardboard has been sealed, sanded, and painted.
Also my two top boxes are now painted and ready for a couple of coats of varnish.
Hummmm, I think all this black needs a big of bling don't you? This gives me an idea for the finish of the next piece of furniture... Let go crazy!

Picture
This is it! Job done! Well almost... I have to add the drawer's knobs and this space will be fully cardboard-revamped!
I just could not wait to put a photo of the silver-moka colour drawers on the website. I loooove that paint.

1 Comment

In situ photos of the pirate set

7/14/2013

1 Comment

 
Picture
This quick post to start the week early and show you the kids pirate set in situ. Bright colours that go well with the bright blue bed.

1 Comment

Wall hanging shelf

7/6/2013

0 Comments

 
Picture
Before I hang it on the wall, here is a small barocco style shelf with drawers.

Thank you Nathalie for your 2 great boxes. They were small and only single layer cardboard but because they were made of good quality cardboard and in great condition I thought it was worth trying something different and I am quite happy with the sturdy result.
For this one I used a different technique consisting in first sticking together many layers of cardboard before cutting to shape with a stanley knife or a jigsaw where possible to save time.

A bit of paint and here we are! I'll varnish it, put it on the wall and send the pics.


0 Comments

Finally finished!

7/4/2013

0 Comments

 
Picture
After a chaotic 2 weeks, here it is!
Had you guessed what it was going to be?
This little pirate bedside table/shelf has taken 3 big removalists cardboard boxes, a fair bit of PVA glue, 300ml of paint and 20 hours of hard (but fun...!) work.
I'll have to show you some pictures in-situ with the seat, bottle, clock and books.
I'll have a bit more to show you this weekend if I finish it: I started a modern/barocco style wall shelf that is nearly finished.
Enjoy your Friday night, I know I will!

0 Comments

    Author

    Sylvie Mathian Campbell
    I am focused on making furniture, toys and homewares that suit your specific needs and style.

    Archives

    October 2015
    June 2015
    March 2015
    August 2014
    February 2014
    December 2013
    November 2013
    September 2013
    August 2013
    July 2013
    June 2013

    Categories

    All

    RSS Feed

Proudly powered by Weebly